
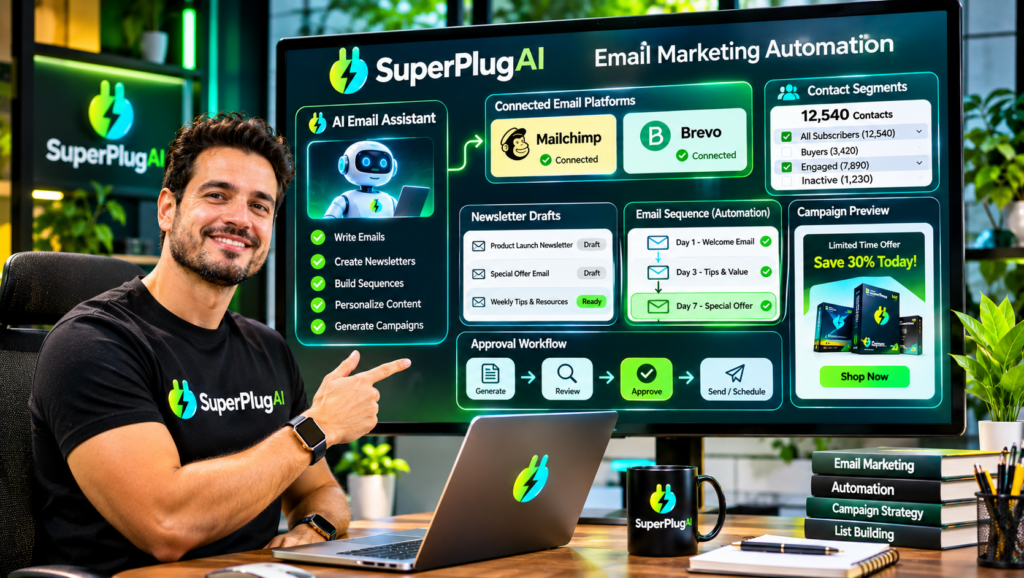
You can automate email campaigns with SuperPlug AI, Mailchimp and Brevo by connecting your supported email marketing accounts through SuperPlug AI’s Max integration, using your AI assistant to prepare campaign copy, welcome emails, launch sequences and other marketing assets, and reviewing each action before approving it. SuperPlug AI is designed to bring email content creation and supported marketing integrations into one AI-assisted workflow. Explore SuperPlug AI and its email marketing automation capabilities.
Whether you are building an email list, promoting a product launch or nurturing existing subscribers, this workflow can help reduce repetitive campaign preparation. Here’s how to connect the services, create your email content and approach campaign automation.
What Can SuperPlug AI Do with Mailchimp and Brevo?
SuperPlug AI combines conversational AI with creative and business automation tools. Its email marketing capabilities include preparing campaign copy, creating welcome sequences, developing launch emails and working with supported email platforms through its Max integration.
Mailchimp and Brevo are email marketing services that businesses can use to manage subscribers and communicate with their audiences.
- Mailchimp: Useful for managing email audiences, preparing campaigns and building automated email journeys using the features available in your account.
- Brevo: Supports email marketing and customer communication workflows, including campaigns and automation features available under your plan.
- SuperPlug AI: Helps generate campaign content and coordinate supported actions through connected services, with an approval process before tasks proceed.
What You Need Before Getting Started
Prepare these essentials before setting up your email marketing workflow:
- An active SuperPlug AI account.
- Access to ChatGPT, Claude or Grok for the conversational interface.
- A Mailchimp account, a Brevo account or both.
- Access to the relevant account authentication and integration settings.
- An email marketing objective, such as welcoming subscribers or promoting a product.
- A permission-based subscriber audience for your campaigns.
You can begin with one email platform and connect the other later. This makes it easier to test your workflow before managing multiple email marketing services.
Step 1: Connect SuperPlug AI to Your AI Assistant
SuperPlug AI uses Model Context Protocol (MCP) to connect supported AI assistants with its tools and workflows.
- Sign in to your SuperPlug AI account.
- Locate your personal MCP connection instructions.
- Copy the connection details provided for your account.
- Add the connection through the supported settings in ChatGPT, Claude or Grok.
- Complete authentication and enable the connector.
Once connected, you can request email marketing tasks through a normal conversation. The available actions depend on your account, enabled integrations and the permissions you grant.
Step 2: Connect Mailchimp Through SuperPlug AI
SuperPlug AI’s Max integration is designed to connect supported business applications, including Mailchimp. To prepare the connection:
- Sign in to your Mailchimp account.
- Open the integration or application connection area available in your SuperPlug AI workflow.
- Select the Mailchimp connection option where available.
- Follow the displayed authentication instructions and grant the required permissions.
- Confirm that the connection is available before requesting Mailchimp-related actions.
Use the authentication method displayed in your account. Do not share passwords or private access credentials in ordinary chat messages.
Step 3: Connect Brevo Through SuperPlug AI
The same general process applies when connecting Brevo:
- Access your Brevo account.
- Open the supported integration area in SuperPlug AI’s Max workflow.
- Choose Brevo if it is available for your account.
- Complete the authentication or authorisation steps shown on screen.
- Verify that the connection is recognised before requesting email marketing actions.
Once connected, you can use your AI assistant to prepare email campaigns and request supported actions involving your Brevo account. Available functionality depends on the integration permissions and your Brevo plan.
Step 4: Create an Email Campaign with an AI Prompt
After connecting your email platform, describe the campaign you want to create. Include the audience, purpose, offer, tone and desired action.
For example, try this prompt:
Create a five-email welcome sequence for new subscribers to my digital marketing newsletter. Introduce the brand in the first email, provide useful beginner tips in the next three emails and finish with an invitation to explore my featured resource. Use a friendly, professional tone, write compelling subject lines and include one clear call to action in each email. Prepare the sequence for review before any campaign is sent.
SuperPlug AI can help prepare campaign copy, welcome sequences and launch email content. Review the writing for accuracy, brand consistency and relevance to your subscribers.
Step 5: Review and Approve the Email Automation
SuperPlug AI uses a plan-first approach for supported tasks. Before approving an action, review the proposed steps, deliverables, estimated time and credit requirements.
Check these important details:
- Audience: Is the correct subscriber group selected?
- Content: Are the subject lines and email messages accurate?
- Timing: Does the proposed sequence match your campaign schedule?
- Links and offers: Are the calls to action and promotional details correct?
- Permissions: Are the requested account actions appropriate?
Approve the workflow only when the proposed actions match your requirements. Check the final campaign inside your email platform before sending it to subscribers.
For a wider explanation of SuperPlug AI’s integrations, Max features, pricing and other creative workflows, read the complete SuperPlug AI review and feature breakdown.
Email Marketing Automation Tips
- Start with a welcome sequence: Introduce your business and provide value to new subscribers.
- Segment your audience: Send relevant messages to subscribers based on their interests and relationship with your business.
- Write clear subject lines: Make the purpose of each email easy to understand.
- Use one primary call to action: Give readers a clear next step.
- Test before sending: Check formatting, personalisation, links and mobile presentation.
- Respect subscriber consent: Use permission-based lists and follow applicable email marketing and privacy requirements.
Frequently Asked Questions
Can SuperPlug AI automate Mailchimp campaigns?
SuperPlug AI lists Mailchimp among its supported integrations and describes email campaign creation and automation workflows. The specific actions available depend on the connected account and integration permissions.
Can I connect Brevo to SuperPlug AI?
Yes. Brevo is listed among the supported integrations in SuperPlug AI’s launch materials. Connection options and available actions depend on your account.
Can SuperPlug AI write welcome and launch emails?
Yes. Its email marketing capabilities include campaign copy, welcome sequences and launch email content.
Can I use Mailchimp and Brevo together?
You can explore both integrations if they are available and authorised in your account. Choose the appropriate platform for each campaign and avoid unintentionally sending duplicate messages to the same audience.
Final Thoughts
SuperPlug AI can simplify email campaign preparation by combining AI-assisted copywriting, welcome sequences, launch emails and supported integrations with services such as Mailchimp and Brevo. Connect your chosen platform, describe your campaign, review the proposed workflow and approve only the actions you want performed.
To explore the complete feature set, integrations, pricing and available upgrades, read the full SuperPlug AI review.